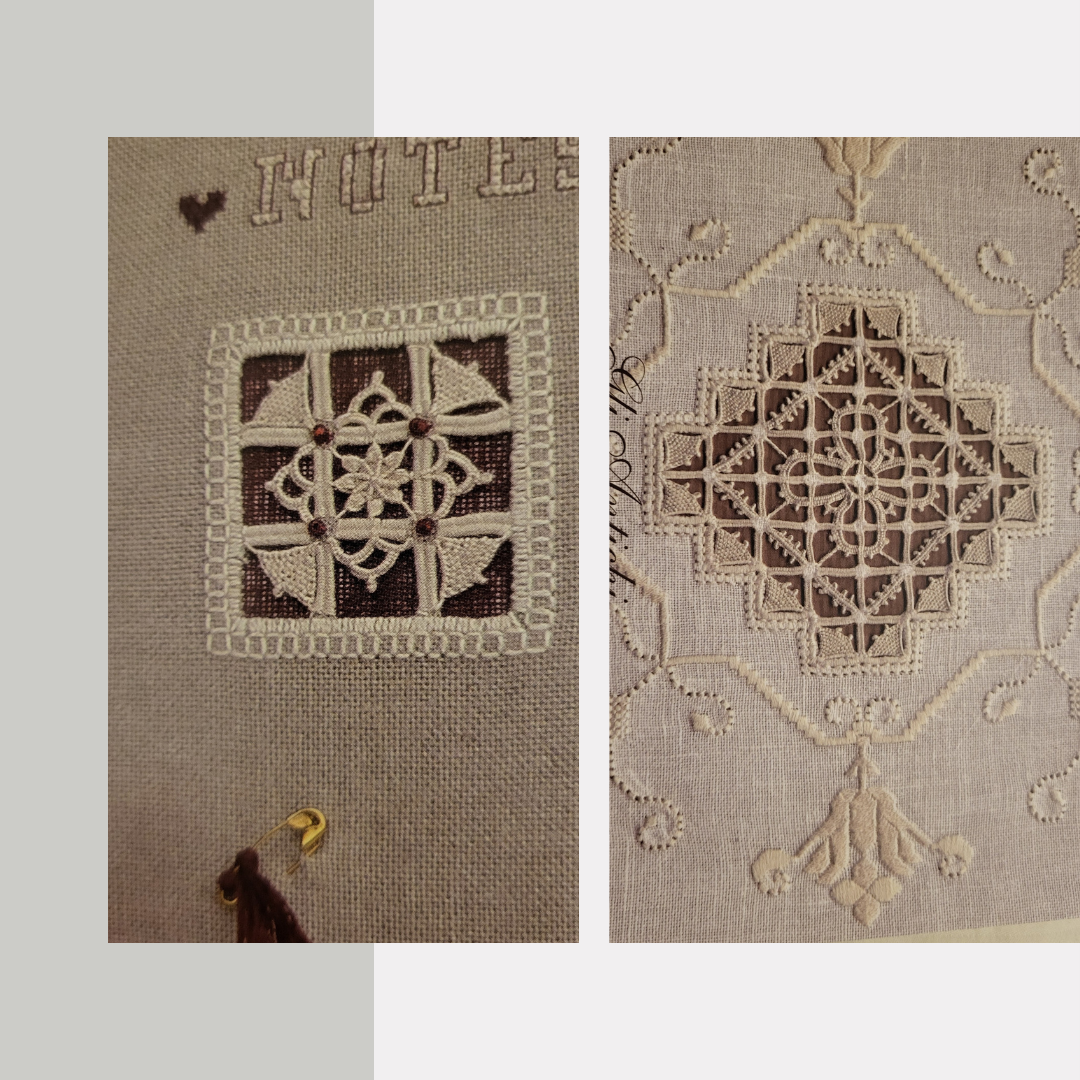
Welcome to Chapter Two - I've learned a lot since my last blog entry, the first part of my Reticella Journey. Read on and join me! I plan to stitch the two motifs shown in the cover image, starting with the smaller square one. After marking my centre lines, I happily and enthusiastically jumped in to cutting threads.
For full size images, check out my Google Album
I cut my initial grid:
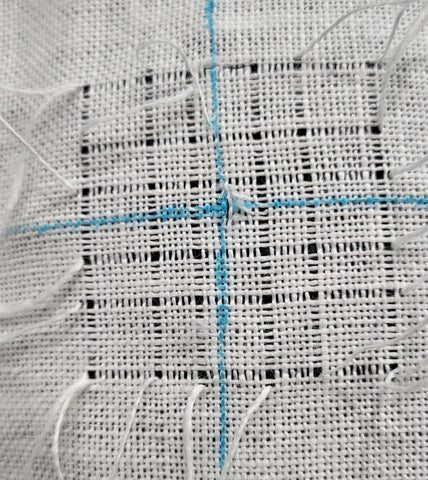
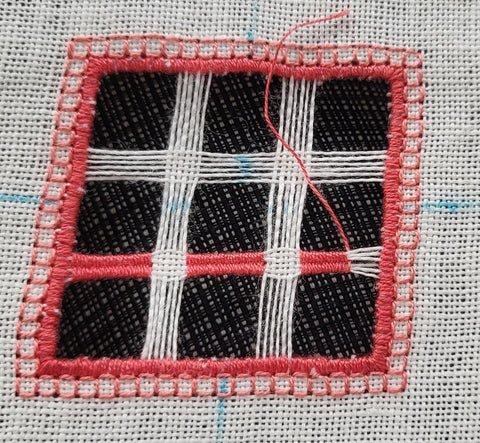
Then, against my current knowledge of cutwork techniques, I misunderstood the directions in the book and carried on cutting the full grid. I know better. I questioned myself at the time, but was quite convinced that Giuliana said to cut the grid first, then do the satin stitching around the edge. In Reticella and Hardanger, the threads are trimmed right at the edge. The satin stitching (in the case of Hardanger, the Kloster blocks) stabilize the edge so it doesn't start to fall apart. Reread the last part: stabilize the edge.
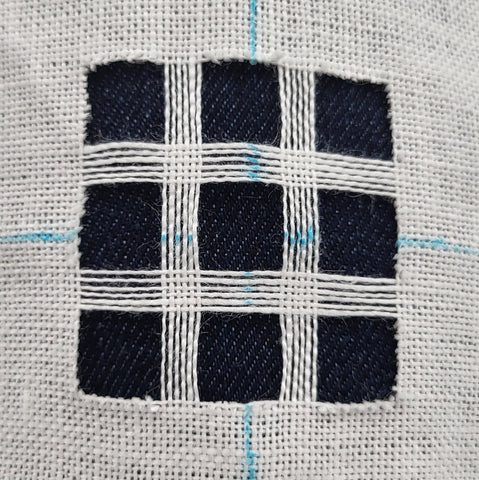
I had this lovely grid, and started the satin stitching with the Presencia #16 pearl cotton colour 1895 Dark Melon. Because I had already cut and trimmed all the threads, I had to stitch very carefully to prevent the threads I was covering from sliding right off the ends of the cut threads. Yikes. As a result, my edge is not pretty and not even. Lesson learned? If your gut tells you something doesn't make sense, REREAD the instructions, REEXAMINE the photos, and make absolutely certain that you are proceeding as recommended.
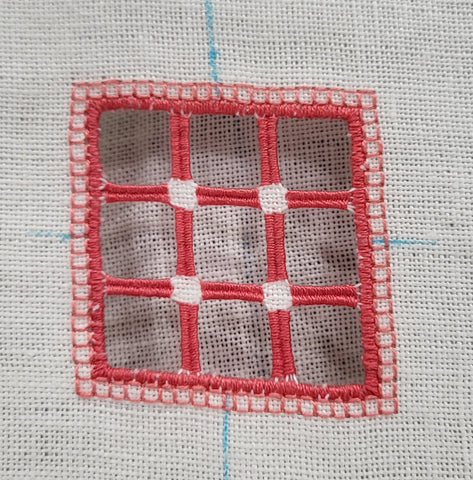
I am not going to redo it. It's not as pretty or perfect as it could be, but it's OK. I may add a little Fray Check here and there to make sure the whole thing stays together.
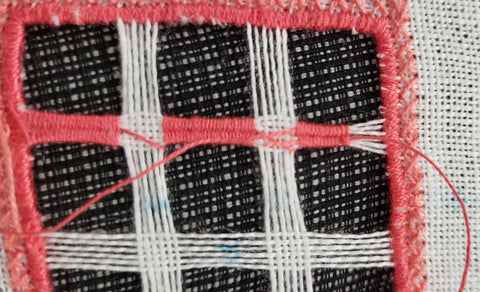
The next step was to weave all the little bars, where I learned my second lesson. Make sure you have enough thread to finish the little bar you're working on. I ran out, and had to creatively start a new thread in the middle of a bar. I could have taken the thread back to the last little bar, but I wanted to see if I could start a new thread without taking it back. This part was fairly successful, but for the rest of the piece I made sure I had enough thread BEFORE starting any of the little bars.